If your paint keeps escaping the printed lines, or your petals look stiff and flat, it's rarely a talent problem. It's brush control. A round watercolor brush can make a hair-thin line, a full petal and a wide wash from the same tip, once you know how to use pressure and angle.
Most of what I do on a coloring page comes down to five watercolor brush strokes. Ten minutes of them on scrap paper before you start a page makes a difference you can see the same day.

Which brushes you need
You don't need a big collection. For coloring pages, two round brushes cover nearly everything:
- A size 8 round for walls, skies, petals and any area bigger than a coin
- A size 2 round (or smaller) for windows, flower centers, stems and tiny details
Look for brushes labeled for watercolor, with soft synthetic or natural hair. What matters most is a good point: when the brush is wet, the hairs should come together into a sharp tip. If your brush splays out into a mop, it will fight you on every line.
How to hold a watercolor brush
Hold the brush further back than you would hold a pencil, about a third of the way up the handle.
I held mine like a pencil for a long time, right down by the hairs, and pressed far too hard. My lines came out thick and jerky, and I blamed the brush. Moving my grip back up the handle fixed more than any new brush ever did.
- Hold it upright, close to vertical, for thin lines and small details.
- Tilt it low, almost flat to the paper, for wide strokes and washes.
- Rest the side of your little finger on the paper for steadiness when you work along a printed line.
Keep your wrist relaxed. Long, smooth strokes come from moving your whole arm, not from wiggling your fingers.
Loading the brush
How much paint and water your brush carries decides what kind of stroke you get. Dip the brush into your mix, then touch the side of the hairs to the rim of your palette to remove any drip. A well-loaded brush is full but not dripping.
For dry brush texture, blot the brush on a paper towel afterwards so it carries only a little paint. How much water belongs in the mix is its own topic, covered in Water-to-Paint Ratio: Tea, Milk and Honey.
The five strokes

1. The tip line
Hold the brush upright and touch only the very tip to the paper. Pull it slowly toward you with almost no pressure. You get a thin, even line, perfect for stems, window frames, railings and following the edge of a printed shape.
Try it: paint ten long, curving lines across a scrap sheet without lifting the brush, keeping the width the same from start to finish. If the line gets fatter, you're pressing down as you go.
2. Press and lift
Start with the tip, press down so the belly of the hairs spreads, then lift back up to the tip as you finish. The stroke goes thin, thick, thin. This is the most useful stroke for flowers: leaves, petals and grass blades in one movement.
Try it: paint a row of leaves, then arrange five of them in a circle to make a simple flower. Watch how the shape changes when you press earlier or later in the stroke.
3. The side stroke
Lay the brush almost flat, so the whole side of the hairs touches the paper, and pull it across in a smooth band. This covers large areas quickly and evenly: walls, roofs, the sky behind a cottage.
Try it: fill a small rectangle with side strokes, each slightly overlapping the last while it's still wet. Keep a bead of paint at the bottom edge and pull it down with each new stroke so the area doesn't dry in stripes.
4. The dab
Touch the brush down and lift it straight up, like a gentle stamp. Each dab leaves a small, soft shape. Clusters of dabs read as foliage, flower beds, hydrangeas and distant trees.
Try it: make a bush with three greens. Start with light dabs, then add darker dabs on the shadow side while the first ones are still slightly damp, so they blend at the edges.
5. The dry drag
Blot the brush until it's nearly dry, then drag it quickly across the paper on the side of the hairs. The paint catches only on the raised texture of the paper and leaves a broken, scratchy mark, ideal for wood grain, weathered fences, gravel paths and rough grass. There's a whole post on it: Dry Brush Watercolor.
How I painted the blue poppy

- Each petal is one or two press and lift strokes, starting at the outer edge and pulling toward the center.
- While the petals were still damp, I dabbed a stronger magenta near the center so it softened outward.
- Once everything was dry, the stem went in as a single tip line.
- The leaves are press and lift too, with a slightly darker green dragged down one side of each to suggest a fold.
- The center is a handful of tiny dabs in my darkest color.
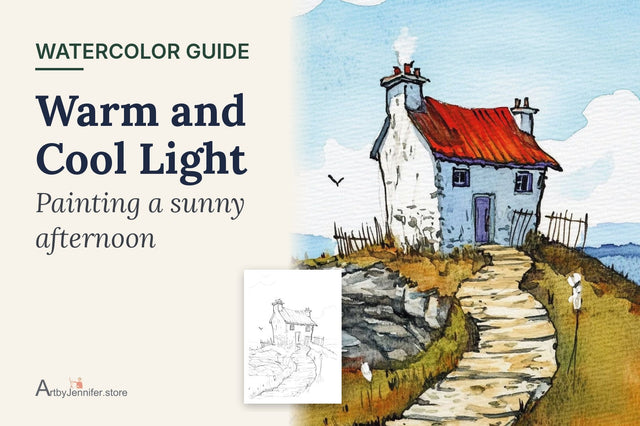
On a house page the mix shifts: side strokes for walls and roof, tip lines for windows and trim, dabs for the garden and a dry drag on the path and fence. How to Watercolor a Coloring Page walks through a full cottage.

Staying inside the lines
On a coloring page, the printed lines do half the work for you. A few habits help you respect them without stiffening up:
- Edges first, middle second. Use the tip to trace just inside the line, then fill the middle with side strokes while the edge is still wet.
- Turn the page, not your hand. It's easier to pull a stroke toward you than to push it away, so rotate the page until every edge comes toward you.
- Leave a hair of white. Stopping just short of a line is safer than touching it, especially where two colors meet, and the thin gap makes the painting look fresher.
- Wait before painting next door. If the area beside a wet section needs a different color, let the first one dry, or paint a section that doesn't touch it.
Caring for your brushes
A good point is easy to ruin. Never leave a brush standing tip-down in the water jar; it bends the hairs for good. After painting, rinse it in clean water, reshape the tip with your fingers and let it dry lying flat or tip-up.
Quick fixes
| What you see | Why it happens | What to try |
|---|---|---|
| Wobbly lines | Gripping too close to the hairs | Hold further back and move your arm, not your fingers |
| Paint floods past the line | Brush overloaded | Blot on the palette rim before touching the edge |
| Brush won't make a point | Bent or worn hairs | Reshape it wet; if it still splays, keep it for washes |
| Wide areas dry in stripes | The wet edge dried between strokes | Work faster with side strokes and keep a bead of paint moving |
| Petals look flat | Even pressure all the way through | Use press and lift, and drop in the darker color while damp |
Frequently asked questions
What size brush is best for watercolor coloring pages?
A size 8 round for most areas and a size 2 round for details. Together they cover almost every page.
How do I paint thin lines in watercolor?
Hold the brush upright, load it with paint that isn't too watery, and use only the very tip with light pressure.
How long does it take to get good brush control?
Ten minutes of practice strokes before each session makes a visible difference within a week or two.
Practice pages
Flowers are the best place to practice brush control, because nearly every petal and leaf is a press-and-lift stroke. The 24 Simple Flowers set has large, simple blooms, each with a color guide, so you can focus on the strokes instead of choosing colors.
If your strokes still feel scratchy no matter what you do, the paper may be the problem rather than the brush; Watercolor Paper Explained shows how to tell.