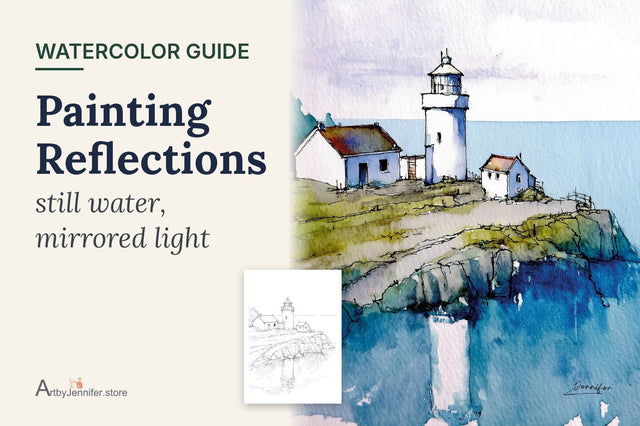
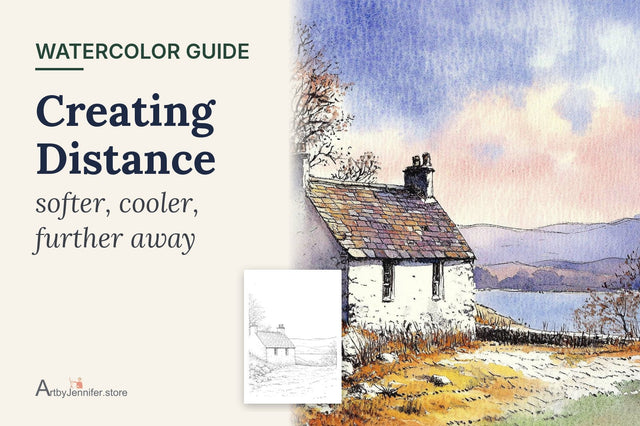
Learning how to watercolor a coloring page comes down to one line: work light to dark, one area at a time, and let each area dry before you paint the one next to it. Everything else in this guide is detail around that idea.
How to watercolor a coloring page: the 9 steps at a glance
- Tape the page down on all four sides.
- Look first, and decide which parts stay white.
- Mix more paint than you think you need, and test it.
- Start with the palest areas.
- Paint wet-on-dry, inside the printed lines.
- Skip around the page so wet areas never touch.
- Add a second layer for shade and depth.
- Finish with small, dark details.
- Let it dry completely, then peel the tape.
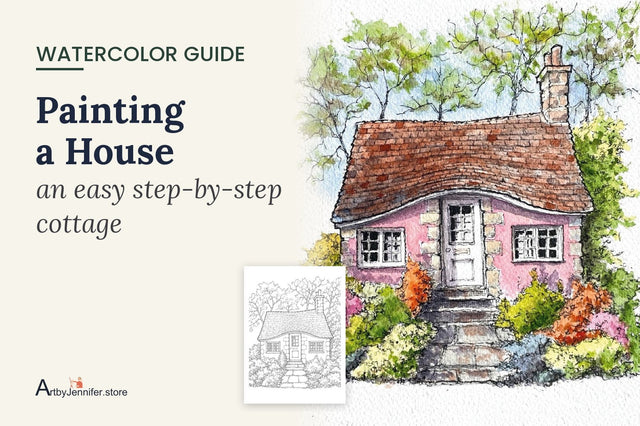
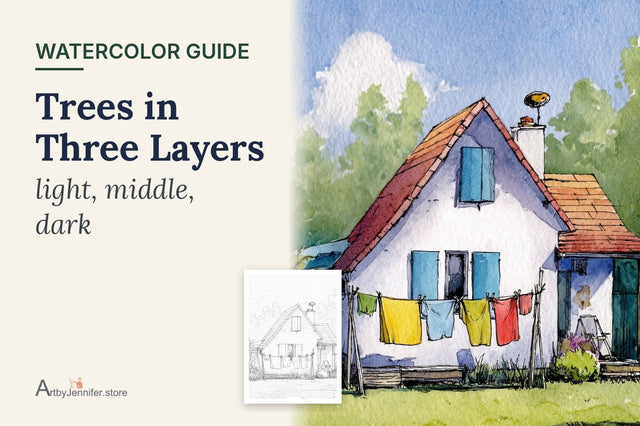
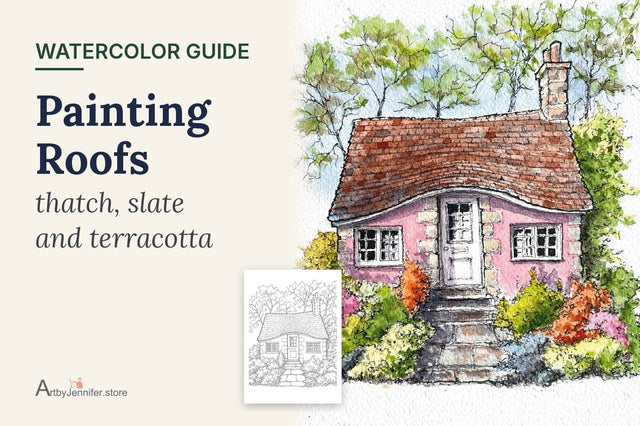
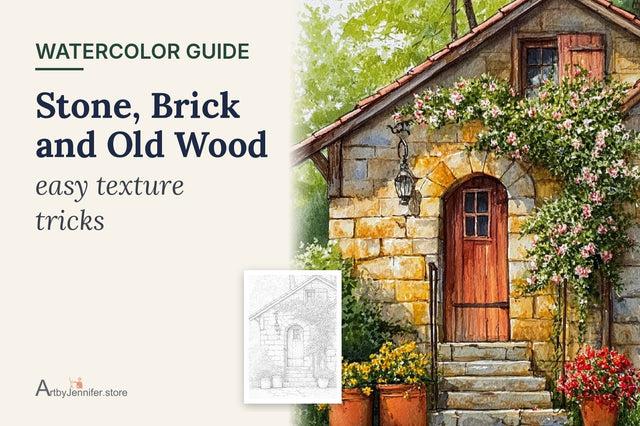
Every set in my shop comes with two versions of each page: the clean line art you print and paint, and a fully painted version of the same picture. Keep the painted one open on your screen or printed beside you. Think of it as a color map, not a test. If you'd like the roof blue instead of red, go ahead. It's your page.

Each design also has a color guide page. It lists the paints I used, what each one is for, and the order to paint in, with a short tip at the end. If you're unsure where to begin, simply follow those numbered steps.


Before you start
Read Watercolor Coloring for Beginners: The Supplies You Actually Need first if you haven't printed a page yet. You'll want watercolor paper or heavy cardstock, ink that doesn't smudge under water, two round brushes, two jars of water and a paper towel.
Give yourself an unhurried hour. A coloring page isn't a race, and much of watercolor is waiting for things to dry. Those quiet pauses are part of the pleasure.
Step 1: Tape the page down
Tape all four edges of the page to a board or a stiff piece of cardboard, overlapping the paper by about half an inch. Press the tape down firmly with a fingernail so water can't creep underneath.
Tape does two jobs. It holds the paper flatter as it dries, and when you peel it off at the end it leaves a clean white border that makes the finished page look framed.
Step 2: Look first, and plan your whites
Watercolor has no true white paint. The white in a watercolor painting is the paper itself, showing through. So before you mix any color, look at the page and decide which parts will stay untouched.
On most of my pages that means window glints, a white picket fence, the highlights on a teapot, sea foam, the bright edge of a cloud or the sunlit side of a white cottage wall. You don't need to mark them. Just know where they are, so your brush steers around them.
While you're looking, notice where the light is coming from. In the painted reference, one side of each house is lighter and one side is in shade. Keeping the light consistent is the biggest single thing that makes a page look real.
Step 3: Mix more paint than you think you need
Mix each color in your palette before you start an area, and make a generous puddle. If you run out halfway across a wall and mix a new batch, it will almost never match exactly, and you'll get a hard line where the two meet.
Test every mix on scrap paper first. Watercolor dries lighter than it looks when wet, often noticeably so, so judge the swatch once it's dry. Water-to-Paint Ratio: Tea, Milk and Honey explains how strong to make each mix.
Step 4: Start with the palest areas
The sky, the walls in sunlight, a dirt path and pale flower petals usually come first. Paint them in thin, watery mixes, about the strength of weak tea.
Why start light? Because watercolor is transparent. You can always darken an area with another layer later, but you can't easily take color back out. Light first keeps every choice open.
Step 5: Paint wet-on-dry, inside the lines
This is the core technique for coloring pages. Load your brush with paint, then touch it to dry paper inside one shape. Let the color flow from the brush rather than scrubbing it in. Keep a little bead of wet paint moving along the lower edge as you go, and lead it across the shape until it's filled.
Because the paper is dry, the paint stops where your brush stops. Edges stay crisp right up to the printed line, which is exactly what a coloring page wants.
- Hold the brush further back on the handle for big shapes. Your strokes will be looser and calmer.
- If you go over a line a little, don't worry. The printed line hides small wanderings, and watercolor looks better with a little life in it.
Step 6: Skip around the page
Two wet areas that touch will bleed into each other. Sometimes that's lovely, as in a sky melting softly into distant hills. Usually, on a coloring page, it isn't what you want: a red roof bleeding into a blue sky turns purple at the edge. I've turned more than one roof purple that way, always because I was in a hurry to see the whole page come together.
So skip around. While the roof dries, paint a garden on the far side of the page. While the garden dries, paint the path. By the time you return, the first area will be dry. To check, hold the back of a finger lightly near it. If it feels cool, it's still damp.
Step 7: Add a second layer for shade and depth
Once the first layer is completely dry, mix a slightly stronger version of the same color and glaze it over the shaded side only: under the eaves, the far side of a chimney, beneath a bush, the inside of an open door.
This is called glazing, and it's what makes flat shapes look round and solid. Paint the second layer in one confident pass and don't scrub, or you'll lift the layer underneath.
One extra layer is often all a page needs. Two or three are fine in deep shadows. More than that and colors tend to turn heavy.

Step 8: Finish with the darkest small details
Now switch to your small brush. Window panes, door handles, tree trunks, the shadow under each flower pot, the line where a roof meets a wall. These small, strong darks are what make everything else look bright by comparison.
Use less water here and more paint. Keep the touches small. A few well-placed darks do more than many.
Step 9: Let it dry, then peel the tape
Wait until the page is completely dry, including the areas under the darkest paint. Then peel the tape slowly, pulling it back over itself at a low angle and away from the painting. If the paper starts to lift, change direction.
If the page has rippled a little, place it face down between two sheets of clean paper under a heavy book overnight. It will usually flatten nicely.
Common watercolor mistakes and how to fix them
| What you see | Why it happens | What to try |
|---|---|---|
| Muddy, dull color | Going back into an area while it was still damp, or mixing too many colors | Let it dry fully, then glaze a clean color over it |
| Hard ring or "cauliflower" mark | Wet paint flowed back into a drying area | Soften the edge with a damp brush, or turn it into a cloud or bush |
| Color bled into the next shape | The neighboring area was still wet | Lift it with a clean, damp brush and a paper towel |
| Color dried too pale | Watercolor dries lighter than it looks wet | Add a second layer once dry |
| Paper pilling or tearing | Scrubbing, or the paper is too thin | Use lighter strokes, or heavier paper next time |
If a page looks disappointing, set it aside and look again in the morning. Most pages look better than we think once they're dry and we've had a break from them.
Frequently asked questions
How long should I wait between watercolor layers?
Until the first layer is completely dry. A light wash may only take a few minutes; a heavy, wet area takes longer. If the paper feels cool when you hold the back of a finger near it, it's still damp.
How long does it take to paint one coloring page?
A simple single-house page usually takes an unhurried hour or two, much of it waiting for areas to dry. Busier scenes with skies, gardens and water can take a whole afternoon, and there's no need to finish in one sitting.
What if I paint outside the lines?
Small wanderings disappear behind the printed line. For a bigger slip, lift the color straight away with a clean, damp brush and a paper towel.
Can I use watercolor pencils instead of paint?
Yes. Color the page with the pencils, lightest areas first, then go over each area with a damp brush to melt the color into a wash. The same rules apply: work light to dark and let each area dry before painting next to it.
Do I have to use the same colors as the painted version?
Not at all. The painted version is a color map to help you start. Change any color you like and make the page your own.
Your first page
The cottage pages are a gentle place to practice this method. They have simple shapes, plenty of white walls to leave untouched, and small details to finish on. Pick one with a single house rather than a whole village street, follow the nine steps, and enjoy the slow afternoon.
If you're just starting out, 84 Simple Houses is the set I drew for first washes: big, simple shapes with lots of white wall to keep. You can also try my 8 free watercolor coloring pages before you buy anything.
When you're ready to go further, these guides look closer at each part of the method:
- Watercolor Paper Explained: which paper to print on
- Watercolor Water-to-Paint Ratio: how strong to mix each layer
- Watercolor Glazing: Step 7 in more detail
- How to Paint Watercolor Skies and Sea: a lighthouse page to try next